Chili combines a medley of spices, meats, and vegetables to create a deeply flavorful dish. It’s a staple in many kitchens, celebrated for its warmth and versatility. The best part is that you can make a homemade version, which is a budget-friendly solution, but also an option where you can customize it according to your preferences.
Key Ingredients and Variations
When it comes to crafting a delicious bowl, the key lies in selecting the right ingredients. Each component plays a crucial role in building the dish’s signature depth and complexity.
- Meats: The foundation often starts with meat. Beef, particularly ground or cubed, is a traditional choice, offering a rich, hearty base. However, variations include pork, chicken, or turkey, each lending its unique flavor. For a vegetarian twist, meat substitutes or additional beans can be used.
- Beans: Beans are another essential component. Kidney beans are most common, but pinto, black, and even navy beans are excellent choices. They add texture and are a great source of protein and fiber. In some Texas-style recipes, beans are omitted to highlight the meat.
- Tomatoes: Tomatoes provide acidity and sweetness, balancing the robust flavors. They can be fresh, canned, or in the form of tomato paste or sauce. The type and quantity of tomatoes can significantly influence the dish’s overall taste and consistency.
- Spices: The spice blend is where individual creativity shines. Essential spices include chili powder, cumin, and garlic. Additional spices like paprika, oregano, and cayenne pepper adjust the heat and depth. Each cook’s spice blend is a personal signature.
- Vegetables: Onions and bell peppers are common for added flavor and texture. Some recipes also incorporate corn, carrots, or celery for extra layers of taste and nutrition.
- Liquids: Broth, beer, or just water are used to achieve the desired consistency while adding another flavor dimension. The choice of liquid can subtly alter the dish’s overall profile.
Popular Variations
- Texas-Style: This version is known for its focus on meat, often using chunks rather than ground, and typically excludes beans.
- Vegetarian: Replacing meat with additional beans, lentils, or meat substitutes, this variation is equally hearty and flavorful.
- White Chili: Uses white beans, chicken, and green chilies, a lighter but equally tasty alternative.
- Spicy or Mild: The heat level can be adjusted through the type and amount of chili powder and fresh chilies like jalapeños or serranos.
- International Twists: Some versions incorporate unique ingredients like chocolate or coffee, adding a distinct twist to the classic profile.
Equipment and Kitchen Tools Needed
Preparing chili requires specific kitchen tools and equipment to ensure the cooking process is efficient and the flavors are developed properly. Here’s a breakdown of the essential items you’ll need.
- Cooking Pot: A large, heavy-bottomed pot is crucial. Cast iron or stainless steel pots are ideal for even heat distribution. The size should be large enough to hold all ingredients and allow for simmering without spilling over.
- Skillet: For browning meat or sautéing vegetables before they go into the pot, a skillet is necessary. A non-stick skillet can make the process easier, especially for beginners.
- Cutting Board and Knives: A durable cutting board and a set of sharp knives are essential for prepping ingredients. A larger board provides ample space for chopping vegetables and slicing meat.
- Measuring Cups and Spoons: Accurate measurements are key, especially for spices. A complete set of measuring cups and spoons ensures you add the right amount of each ingredient.
- Wooden Spoon or Spatula: A sturdy wooden spoon or spatula is needed for stirring. It’s important to choose one that can withstand prolonged use over heat.
- Slow Cooker (Optional): For those who prefer a ‘set it and forget it’ approach, a slow cooker can be an excellent tool. It allows the chili to develop deep flavors over several hours.
- Pressure Cooker (Optional): For a quicker cooking time, a pressure cooker can be a valuable addition. It reduces cooking time significantly while still allowing flavors to meld together well.
- Colander: If using canned beans, a colander is needed to rinse them. It can also be helpful in draining fat from browned meat.
- Ladle: A ladle is important for serving, especially if the chili is being transferred to bowls or storage containers.
- Storage Containers: If you plan to store or freeze leftovers, having a set of quality storage containers is essential. They should be airtight to preserve the chili’s flavor and freshness.
- Spice Grinder (Optional): For those who prefer to use whole spices, a grinder is a great tool for ensuring fresh, potent flavors.
These tools not only make the process of preparing chili smoother but also contribute to the quality of the final dish. While some are essential, others like the slow cooker or pressure cooker offer convenient alternatives for different cooking styles. With the right equipment at hand, making a flavorful and satisfying chili becomes an enjoyable and rewarding experience.
Preparation Techniques
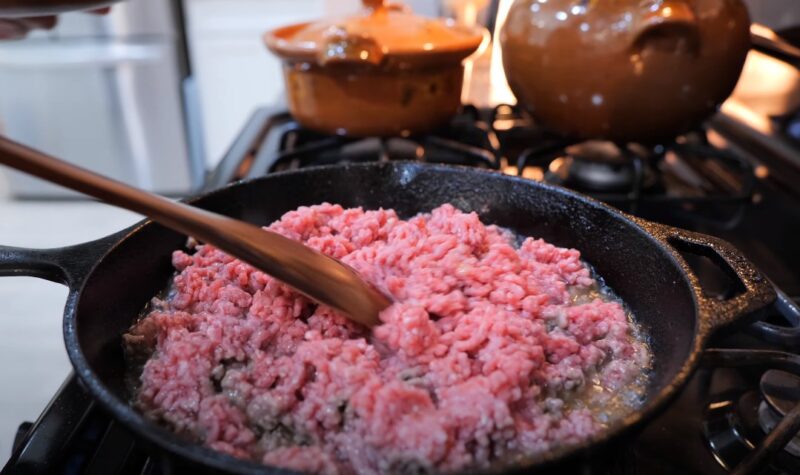
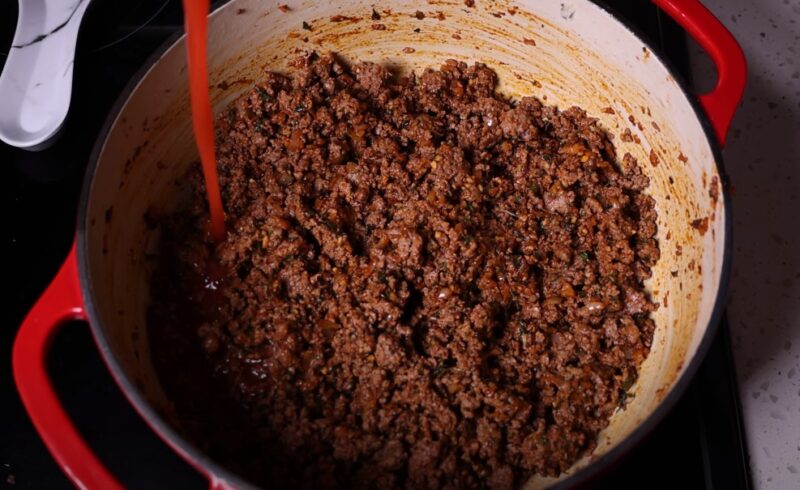
The preparation of chili involves a blend of techniques that bring out the best in each ingredient. The first step often involves browning the meat, if used, which enhances its flavor and texture. This is done over medium-high heat in a skillet, ensuring the meat is evenly cooked and has a rich, caramelized exterior.
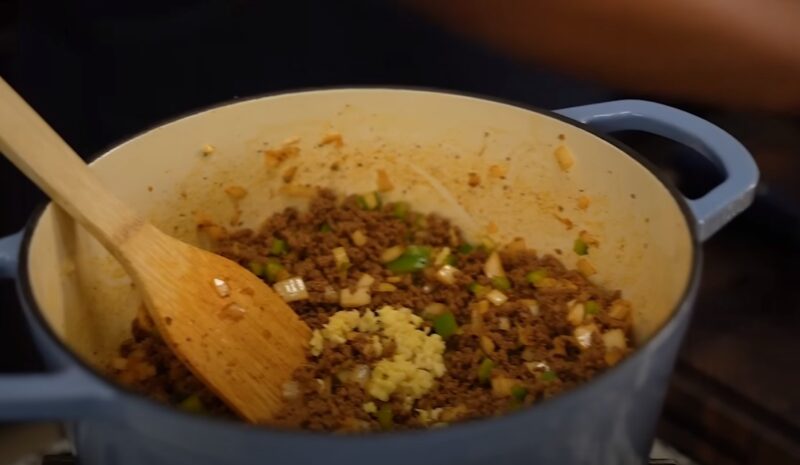
Vegetarians can skip this step and focus on the vegetables and beans. Next, sautéing vegetables like onions, garlic, and peppers is crucial. This step develops their flavors, which form the base of the dish. The spices are usually added at this stage to bloom in the heat, releasing their aromatic oils. Once the base ingredients are prepared, they are combined in the cooking pot.
This is where the meat, sautéed vegetables, beans, tomatoes, and broth come together. The key is to simmer the chili slowly, allowing flavors to meld and deepen. Stirring occasionally prevents sticking and ensures even cooking. The duration of simmering can vary, but a longer simmer typically results in a more flavorful and well-integrated dish. Here is a complete recipe with instructions that will help you make the perfect chili.
| Step | Instruction |
|---|---|
| 1 | Brown the Meat: In a skillet over medium-high heat, cook the meat until it’s evenly browned. Drain any excess fat. |
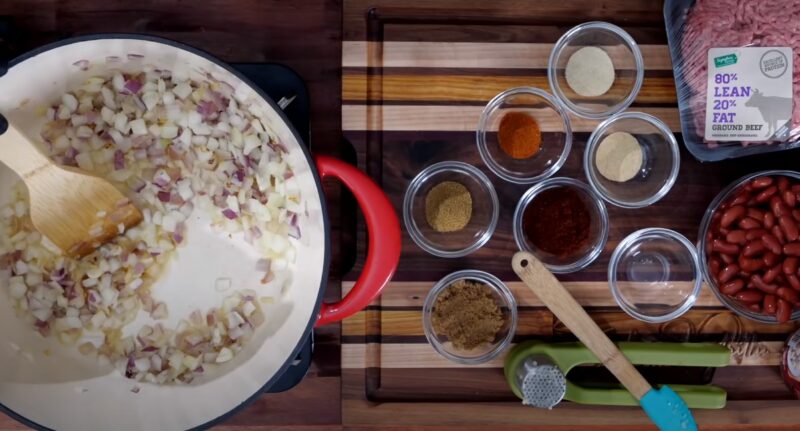
| 2 | Sauté Vegetables: In the same skillet, add onions, garlic, and peppers. Cook until they are soft and fragrant. |
| 3 | Bloom Spices: Add spices like chili powder, cumin, and paprika to the vegetables. Cook for another minute. |
| 4 | Combine Ingredients: Transfer the browned meat and sautéed vegetables to a large pot. Add beans, tomatoes, and broth. |
| 5 | Simmer: Bring the mixture to a boil, then reduce heat to low. Let it simmer for at least an hour, stirring occasionally. |
| 6 | Adjust Seasoning: Taste and adjust the salt, pepper, or spices as needed. Continue to simmer until desired consistency is reached. |
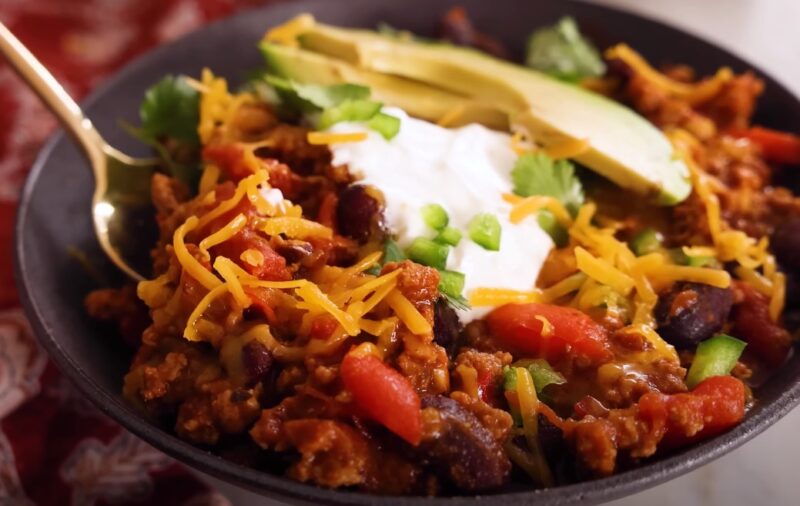
| 7 | Serve: Once the chili is cooked to your liking, serve hot. Garnish with cheese, sour cream, or green onions if desired. |
Common Mistakes and How to Avoid Them?
When making chili, certain pitfalls can hinder achieving the perfect batch. Being aware of these common mistakes can help you avoid them and ensure your dish turns out flavorful and satisfying.
- Overcrowding the Pan: When browning meat, avoid overcrowding the pan. Crowded meat will steam rather than brown, losing the opportunity for added flavor. Cook in batches if necessary.
- Rushing the Cooking Process: Chili’s flavor deepens with time. Rushing the cooking process can result in underdeveloped flavors. Allow it to simmer gently to meld the ingredients properly.
- Overdoing Spices: It’s easy to overdo it with spices, especially chili powder and cumin. Start with less and adjust as needed. Remember, you can always add more, but you can’t take it out.
- Neglecting to Taste as You Go: Regularly taste and adjust seasonings throughout cooking. This ensures a well-balanced flavor profile and prevents last-minute over-seasoning.
- Using Dried Beans Without Preparing Them Properly: If using dried beans, ensure they are soaked and cooked properly before adding them. Unprepared beans can be tough and affect the overall texture.
- Not Adjusting Liquid Quantities: Depending on the desired consistency, adjust the amount of liquid. Too much can make the chili soupy, while too little can cause it to be overly thick.
Preserving and Storing
Properly preserving and storing chili not only extends its shelf life but also ensures it retains its flavor and quality. Here are some key tips for keeping your chili in the best condition:
- Cooling Before Storing: Allow the chili to cool to room temperature before storing. Storing it while still hot can lead to condensation and bacterial growth.
- Refrigeration: In an airtight container, chili can be refrigerated for up to 3-4 days. Make sure the container is sealed well to prevent any air from getting in, which can dry out the chili.
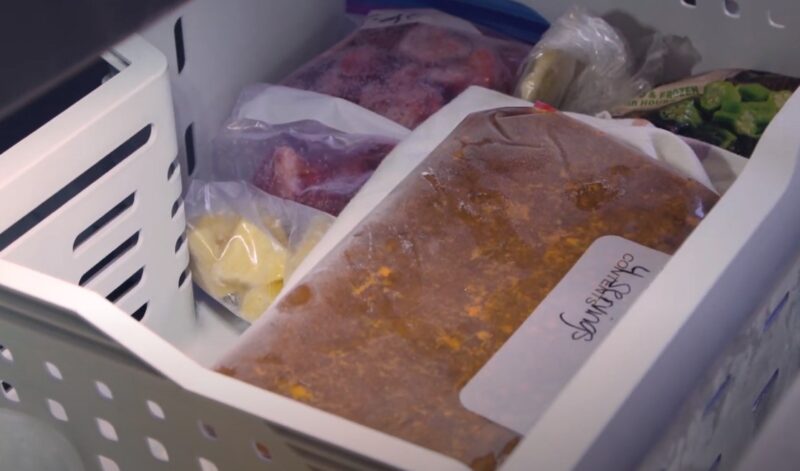
- Freezing for Longevity: For longer storage, chili freezes well. Use freezer-safe containers or bags, leaving some space for expansion. Properly stored, it can last for 2-3 months in the freezer.
- Thawing and Reheating: When ready to eat, thaw the chili in the refrigerator if it was frozen. Reheat on the stove or in a microwave, stirring occasionally to ensure even heating. Ensure it reaches a safe internal temperature before consuming.
- Avoiding Freeze Burn: To prevent freeze burn, make sure the chili is covered tightly and any air is squeezed out of freezer bags.
- Portioning for Convenience: Freeze in individual serving sizes for easy, quick meals. This avoids thawing a large batch when you only need a small amount.
FAQs
Can I substitute the beef with a plant-based protein?
Absolutely! Plant-based proteins like tofu, tempeh, or commercial meat substitutes work well as beef alternatives. They absorb the flavors of the spices and contribute to a hearty texture.
How can I make my chili thicker without compromising the flavor?
To thicken chili, try adding a small amount of cornmeal or masa harina. These not only thicken the mixture but also add a subtle corn flavor that complements the chili.
Is it possible to make chili without tomatoes for someone with allergies?
Yes, you can make chili without tomatoes by using roasted red peppers or pumpkin puree as a base. These alternatives provide a similar texture and a unique flavor profile.
How do I balance the flavors if my chili is too spicy?
If your chili turns out too spicy, you can balance it by adding a bit of sweetness with sugar or honey, or increase the quantity of acidic components like lime juice or vinegar.
How long should I let my chili rest before serving for the best flavor?
Allowing chili to rest for about 10-15 minutes off the heat before serving can enhance its flavors. This resting period lets the flavors meld together more cohesively.
Last Words
Crafting the perfect chili is an art form that combines the right balance of ingredients, preparation techniques, and patience. Whether you prefer a meaty, vegetarian, or uniquely spiced version, the flexibility of chili allows it to be tailored to any palate. Remember, the key to a great chili lies in the quality of ingredients, the balance of flavors, and the cooking method chosen.